Are you tired of mowing your lawn every weekend? We’ve got the perfect solution for you! Artificial turf can transform your backyard into a lush, green oasis without the hassle of constant maintenance. Installing artificial grass yourself can save you money and give you a sense of pride in your outdoor space.
This DIY guide, created by Artificial Grass Winnipeg, will walk you through the steps to install artificial turf in your backyard. We’ll cover everything from planning and preparation to the final touches. Our aim is to help homeowners like you create a beautiful, low-maintenance outdoor area that you can enjoy all year round.
Before we dive into the nitty-gritty, it’s important to note that installing artificial turf requires some planning and effort. But don’t worry! With our step-by-step instructions, you’ll be well-equipped to tackle this project. Let’s get started on turning your backyard into the envy of the neighbourhood!
Planning Your Artificial Turf Installation
Before we dive into the installation process, let’s get our ducks in a row. Good planning sets the stage for a smooth artificial turf project that’ll make your backyard the envy of the neighbourhood.
Assessing Your Space
First things first, we need to size up our outdoor space. Grab a measuring tape and jot down the square footage of the area we’ll be covering. Don’t forget to account for any oddly shaped sections or obstacles like trees or garden beds. We’ll want to add about 5% extra to our measurements to allow for cuts and waste.
Think about how we’ll use the space too. Are we creating a play area for the kids? A putting green? Or just a lush, green lawn to admire? This will help us choose the right type of turf later on.
Lastly, we should check the ground. Is it level? Does it have good drainage? We might need to do some prep work before we lay our turf.
Selecting the Right Turf
Now for the fun part – picking our turf! There are loads of options out there, so we need to consider a few things:
- Pile height: Shorter for a manicured look, longer for a more natural feel
- Colour: Do we want a bright green or a more muted tone?
- Softness: Important if we’ll be walking on it barefoot or if kids will be playing on it
- Durability: High-traffic areas need tougher turf
We should also think about how much sun our yard gets. Some turfs are better at resisting fading in bright sunlight.
Don’t forget to grab some samples. It’s worth laying them out in our yard to see how they look in different lights.
Tools and Materials Checklist
Let’s make sure we’ve got all our gear ready to go. Here’s a handy list of what we’ll need:
- Utility knife
- Shovel
- Wheelbarrow
- Broom
- Hammer
- Turf rake
- Measuring tape
- Garden hose
- Drop spreader
For materials, we’ll need:
- Our chosen artificial turf
- Weed barrier fabric
- Infill (sand or rubber)
- Joining tape and adhesive
- Landscape pins
It’s a good idea to have everything on hand before we start. There’s nothing worse than having to run to the hardware store mid-project!
Preparing the Ground
Getting the ground ready is crucial for a successful artificial turf install. We’ll walk you through clearing the area, fixing drainage issues, and building a solid base.
Clearing and Cleaning the Area
We start by removing all grass, weeds, and debris from the space. A sod cutter makes quick work of existing turf. We dig out about 6 cm of soil to make room for our base materials.
It’s key to get rid of rocks, roots, and other stuff that could mess up our turf later. We rake the area smoothly and check for low spots that need filling.
A weed barrier fabric goes down next. This stops weeds from growing up through our new turf. We overlap the edges by about 10 cm and secure it with landscape staples.
Optimizing Drainage and Leveling
Good drainage stops water from pooling on our turf. We slope the ground away from buildings, about 1-2 cm drop for every metre.
For tough spots, we might add drain pipes. These help move water away fast. We connect them to existing drainage or direct them to places where water can soak in.
A laser level helps us find and fix any bumps or dips. We want the ground nice and flat for our turf to look its best.
Creating a Stable Foundation
Our base layer is super important. We use crushed rock, gravel, or decomposed granite. These materials drain well and make a firm surface.
We spread our base material evenly, about 5 cm thick. A plate compactor packs it down tight. We might need to do this a few times to get it just right.
We check the level again and fix any spots that aren’t quite perfect. A smooth, hard base makes our turf look great and last longer.
Installing the Artificial Turf
Let’s get our new turf in place! We’ll cover how to lay it out, join the seams, and add infill for a professional look.
Laying Out the Turf
We start by unrolling our artificial grass in the sun for a few hours. This helps it settle before we install it. Next, we rough-cut the turf to fit our space, leaving a bit extra around the edges. It’s best to cut from the back using a sharp utility knife.
We position the turf carefully, making sure the blades all face the same direction. This gives a natural look. We stretch the turf gently to remove any wrinkles or bumps. It’s important to take our time here – a smooth base means a great final result.
Securing and Joining Seams
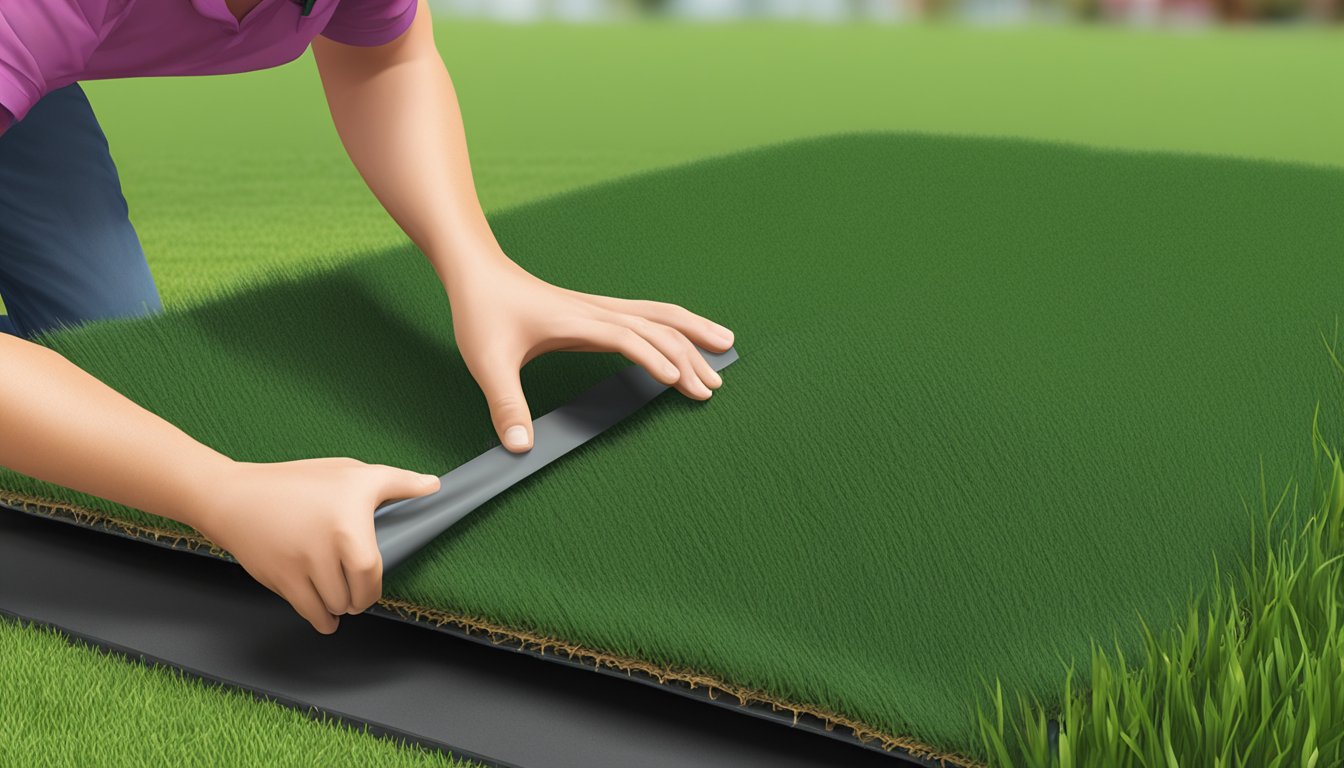
For a seamless look, we need to join the edges of our turf rolls. We use a special adhesive tape for this. We lay the tape under the seam and fold both edges down onto it. We press firmly to make sure it sticks well.
To secure the edges, we use landscape staples or nails every 6 inches. This keeps our turf in place and looking neat. We make sure to push the staples in deep so they don’t show.
Adding and Distributing Infill
Infill is crucial for our turf’s look and feel. We use sand or rubber granules for this. We spread it evenly using a drop spreader, aiming for about 2-3 pounds per square foot.
After spreading, we use a power broom or stiff brush to work the infill into the turf. This helps the blades stand up straight and gives a more natural look. We brush in different directions to distribute the infill evenly.
We might need to add more infill in high-traffic areas over time. This keeps our turf looking fresh and feeling soft underfoot.
Maintaining Your Artificial Turf
Keeping your artificial turf in top shape is easy with a bit of regular care. We’ll cover the key steps to keep your lawn looking fresh and inviting all year round.
Regular Cleaning Schedule
We suggest giving your turf a quick once-over each week. Use a leaf blower or stiff brush to remove leaves, twigs, and other debris. This stops them from getting stuck in the fibres.
For a deeper clean, rinse the turf with a hose every month. This washes away dust and pollen. If you have pets, you’ll want to do this more often.
Got tough stains? Mix mild soap with warm water. Gently scrub the spot, then rinse well. For oil stains, try a bit of mineral spirits on a cloth.
Addressing Wear and Tear
High-traffic areas might flatten over time. No worries! We can fix this with a bit of brushing. Use a stiff-bristled broom or a special turf brush. Brush against the grain to fluff up the fibres.
Check for loose seams or edges now and then. If you spot any, it’s best to fix them right away. You can use turf adhesive or seaming tape for small repairs.
Keep an eye out for weeds. While rare, they can pop up along the edges. Pull them out by hand or use a safe weed killer made for artificial turf.
Ensuring Longevity and Appearance
To keep your turf looking great for years, rotate heavy items like planters or furniture. This prevents permanent dents or flat spots.
In snowy areas, let the snow melt naturally. Don’t use metal shovels, as they can damage the fibres. A plastic shovel is okay for light snow.
During dry spells, give your turf a rinse. This keeps it cool and helps remove any build-up of dust or pollen.
Lastly, consider a yearly deep clean by a pro. They have special tools to really refresh your turf and can spot any issues early on.

